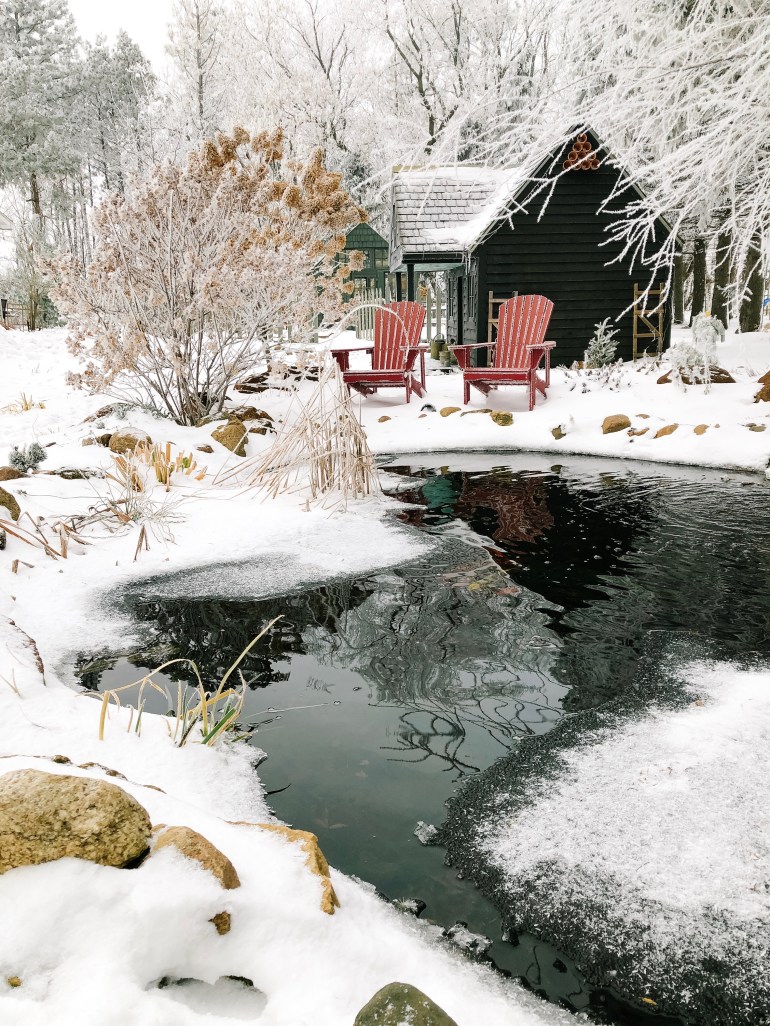
life in and around the garden
A few years ago, we added a small pond to our garden. After digging a spot in the garden, we pieced together some filters and pump, filled it up with water, and dropped in some rocks and fish.
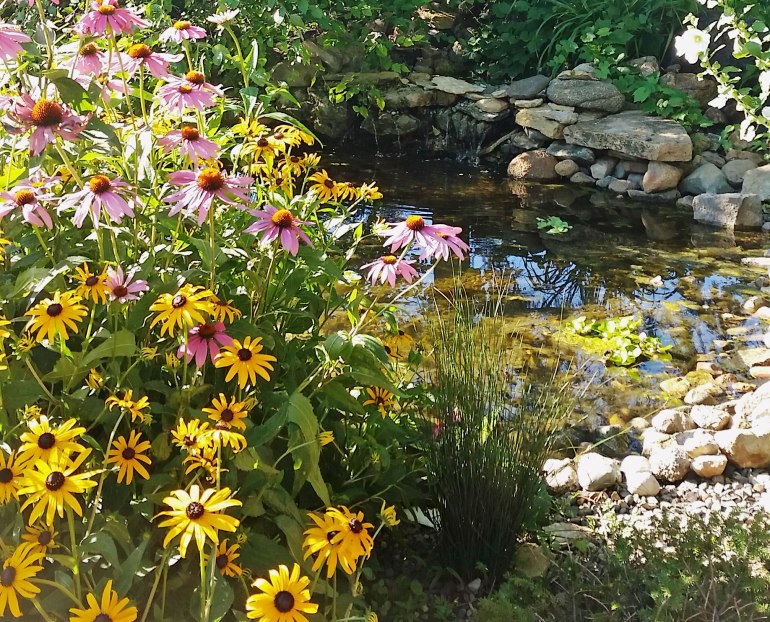
We loved the sound of water splashing down a small rock waterfall and placed a few pond plants along the edges of the pond.
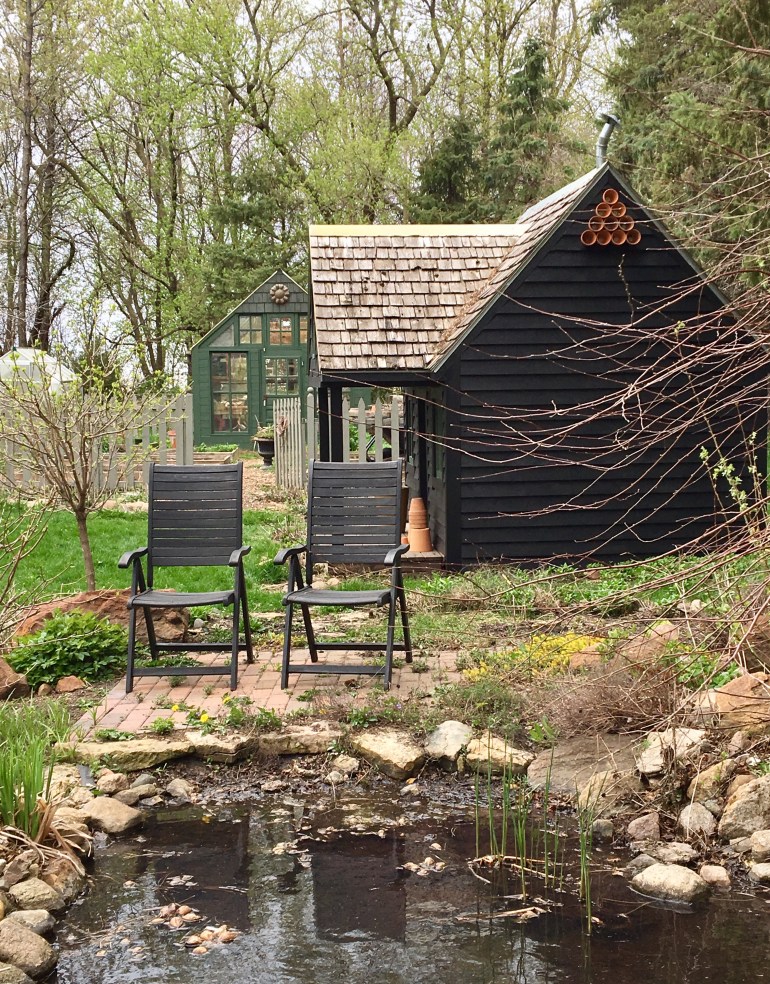
We sat back to enjoy the tranquility of the pond and watch our little ecosystem grow.
We soon realized that we had some issues!
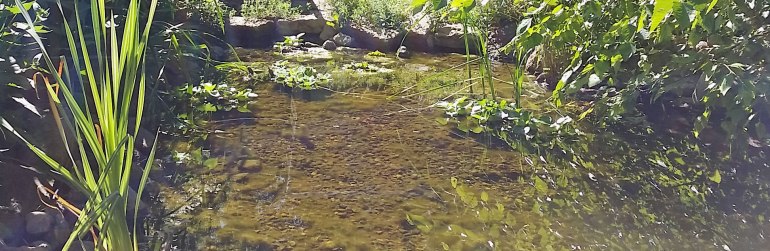
The water was cloudy and began to grow layers of green algae that we couldn’t skim fast enough from the water. Leaves and pine needles clogged the filter and the hot summer days warmed the shallow water, making it unhealthy for fish; but we hatched lots of mosquitos!!
The pond became a frustration instead of a retreat in the garden!
Early this spring we were given the opportunity to work with the Oase Living Water Company.
Taking a look at images from last year’s garden was all it took to sign up for a garden pond makeover.
With the help of Oase Living Water, we were able to design a pond suited for our zone 4 garden. We wanted a larger pond that we could grow water plants and enjoy colorful Koi fish. We also wanted a pond that was easy to take care of!
Oase helped us select the appropriate equipment to keep a pond that is both beautiful and easy to maintain. We were excited to learn that the equipment has an Eco-friendly rating, making it energy efficient to run the pond equipment.
Oase also have a Clear Water Guarantee. “When a pond owner properly uses specifically marked Clear Water Guarantee products, they are guaranteed to have clear water and minimal maintenance.”
The equipment that we used to build the pond include:
AquaOxy 450 Air Injection Pump
AquaSkim In-Pond Surface Skimmer
Corrugated and Flexible Tubing 1 ½” and 2” diameter
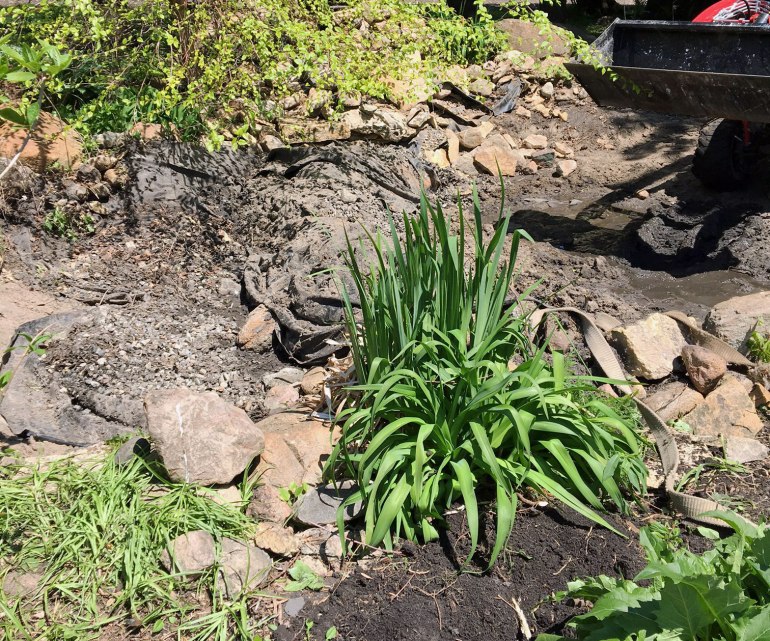
Dismantling the old pond was the first task, and this was the most difficult part of the project!
The little red tractor was perfect for removing the old liner and rock. We also needed to relocate several shrubs and perennials to allow for a larger pond.
Spring is generally the best time to move most plants in the garden, and I am happy to report that everything we transplanted is growing and thriving.
Once the old liner and rocks were removed, we began the task of digging the new pond. We were able to add several feet to the width and length. We chose not to disturb an existing brick paver area and carefully worked around a favorite River Birch Tree that was in place.
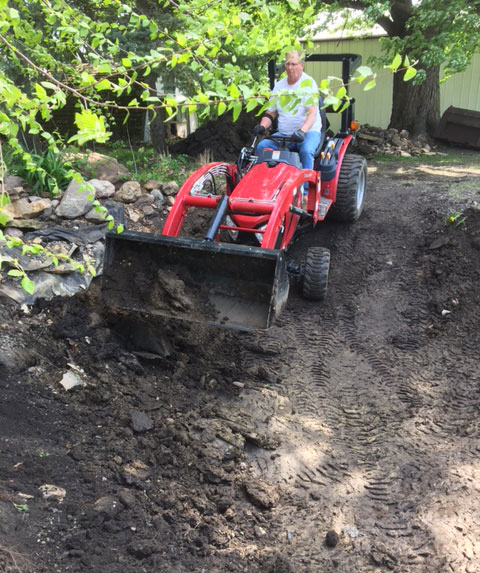
Once again the little red tractor was the perfect size for working in the constraints of the garden. The waterfall area was dug by hand with shovels.
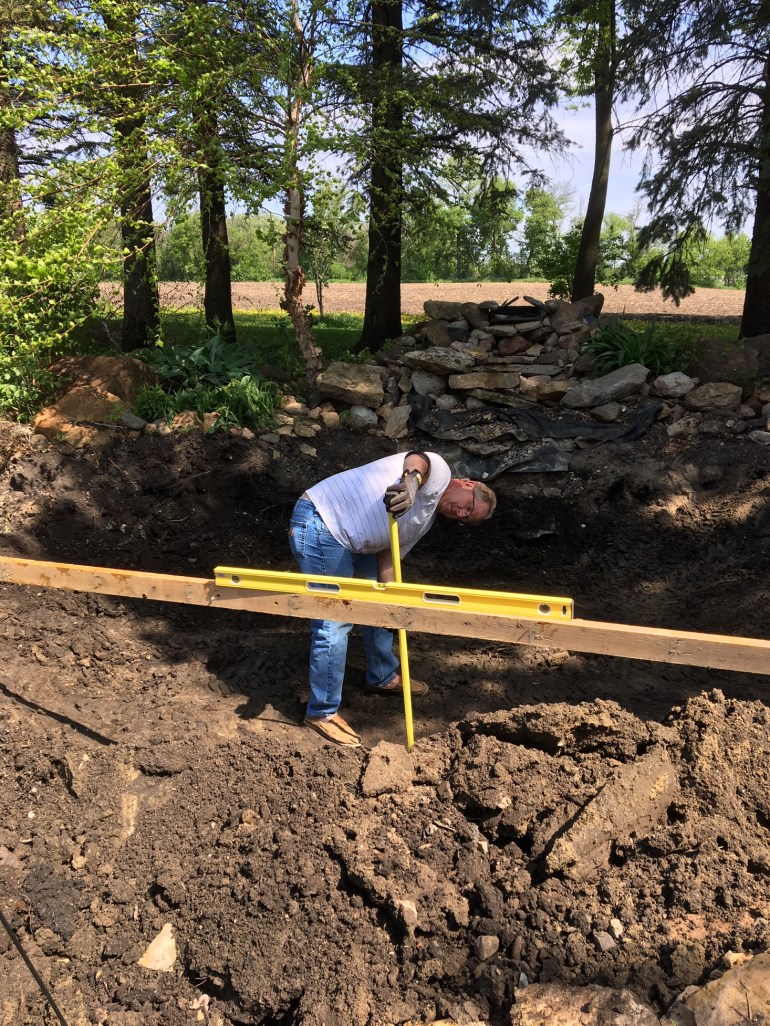
We dug the pond to a depth of 40 inches in the center; this depth will prevent the pond from completely freezing solid in the winter with the addition of an aerator. The sides of the pond slope quite sharply; this will help prevent animals and critters from entering the pond and bothering the Koi that will soon inhabit the pond.
The remaining rocks from the old waterfall where removed.
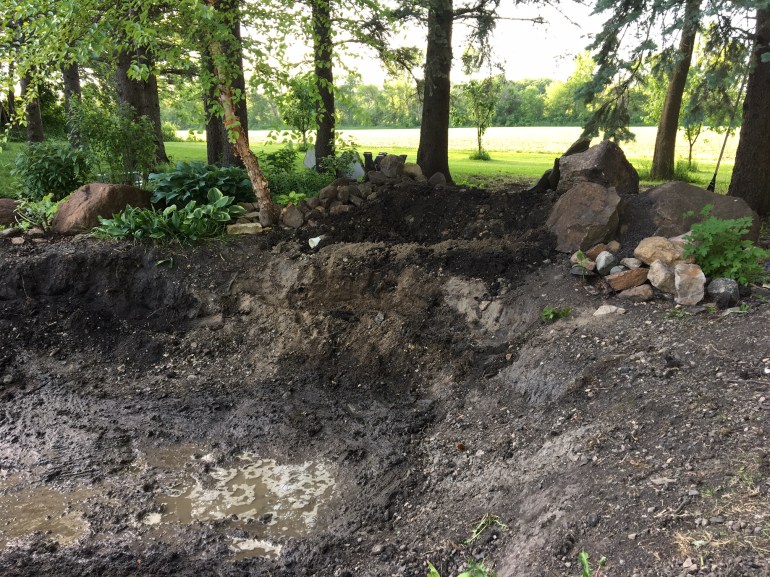
The weather is certainly a factor when working in the garden in early spring. We are a small crew of 2 and with some delays we finally got to this point in the project. The garden looked pretty muddy and messy at this point, but it’s going to be pretty!
Stay tuned for Part 2-The Pond Build!
