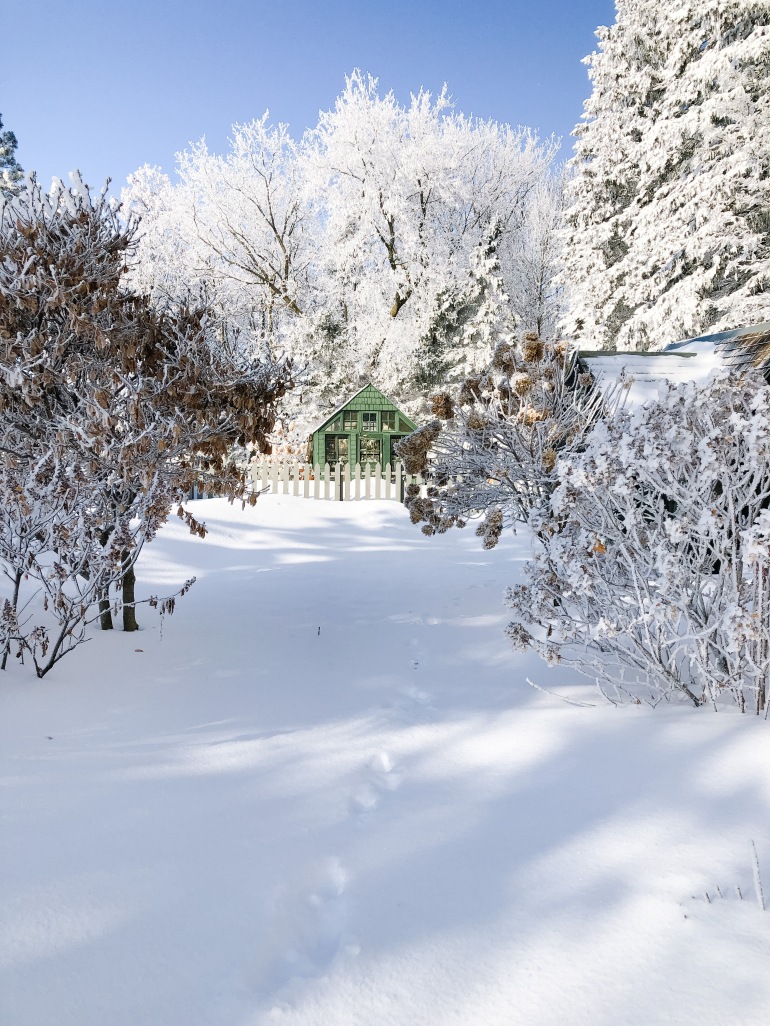
Nearing the end of February and it should not surprise anyone that we are covered in snow in a zone 4 garden. Some of our heaviest snows will occur in this month and next.
life in and around the garden
Nearing the end of February and it should not surprise anyone that we are covered in snow in a zone 4 garden. Some of our heaviest snows will occur in this month and next.
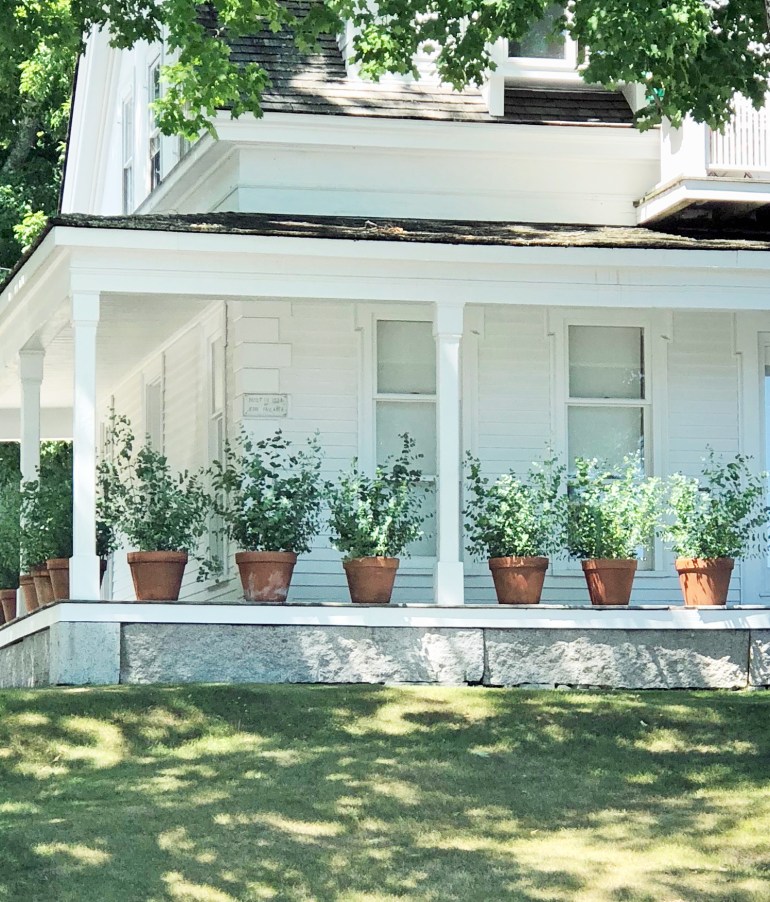
I absolutely loved this house with it’s wrap around porch that I spied while on vacation in Maine this past summer.
The simplicity of multiple pots of Eucalyptus lined up on the edge of the porch stopped me in my tracks.
The plants gently swayed in the breeze that was bringing in salty air from the water.
An inspiration for my own garden this summer.
Where do you find garden inspiration?
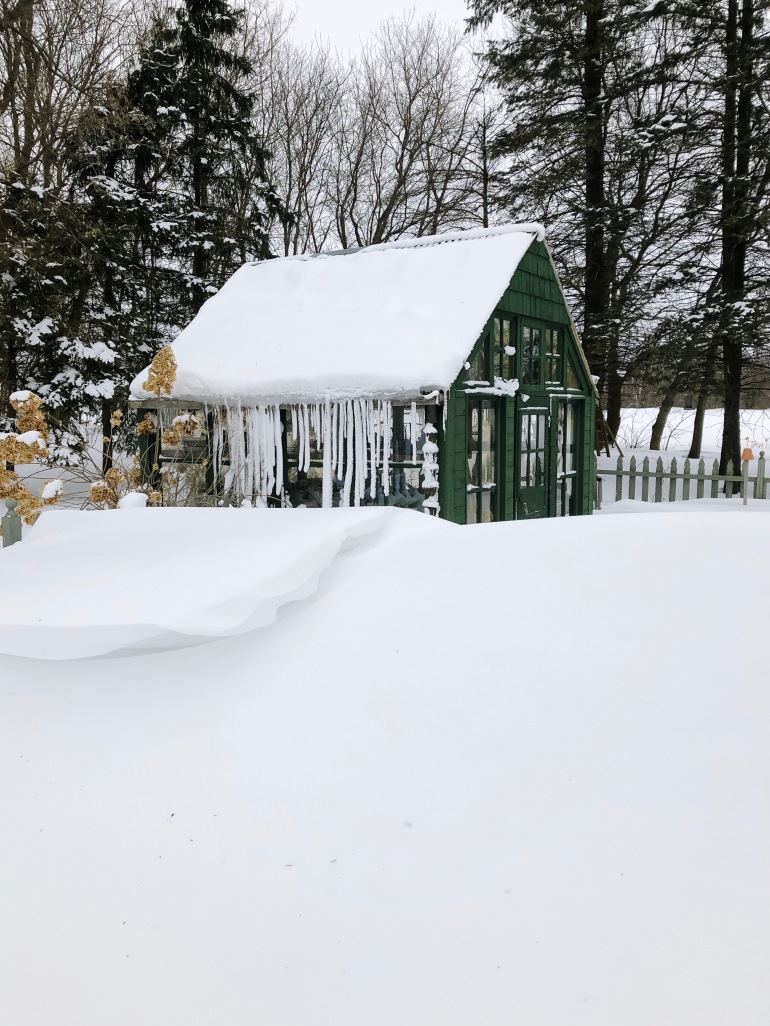
Winter still has a firm grip on the garden. I’ve struggled with Blogging over the last year and have wondered if I should still continue the journaling of the little garden. Maybe when the snow melts and the garden begins to wake up-I will too.

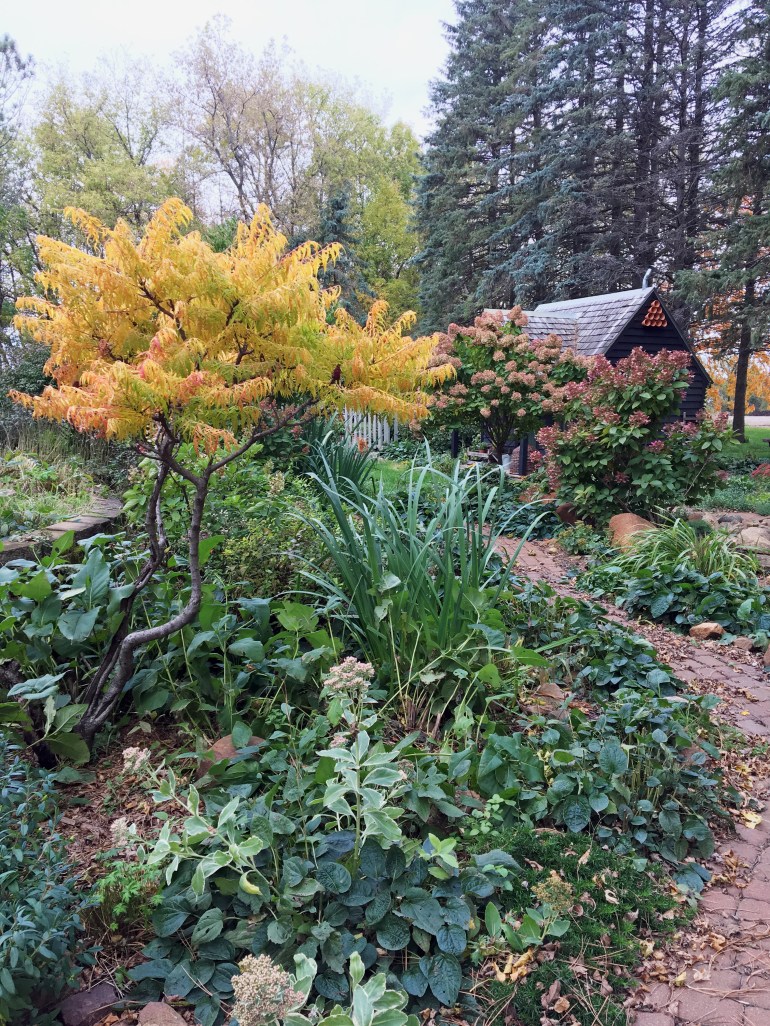
Now this is my kind of Autumn weather!
I was able to spend an entire day out in the garden, trying to clean up spent perennials and even got a few bulbs planted. Sunshine has been very scarce and I had felt my mood began to darken along with the weather. The Burning Bush is like a big cup of coffee for my soul!
The weather has been colder and wetter then normal!
Sunshine has been very scarce and I’m behind in the garden chores.
Mother Nature, I need a little cooperation.
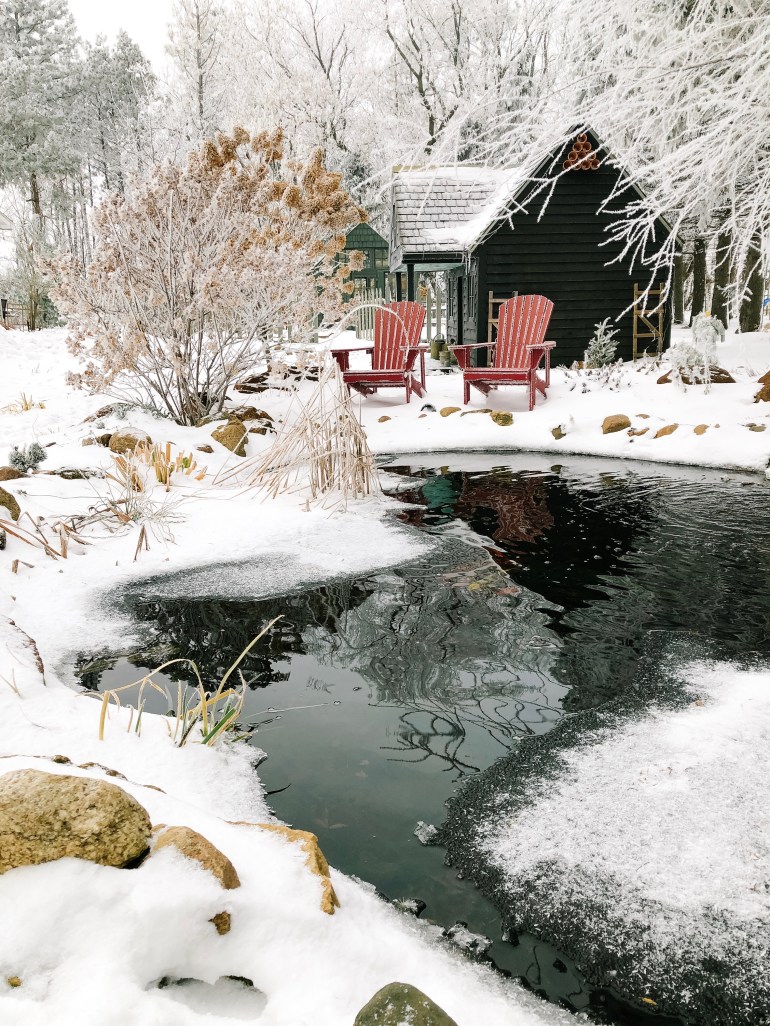
The Winter always looks so pretty in the garden and I love to grab my camera after a snowfall. It was a busy year in the garden with most of the work and attention on the new garden pond. This coming year we look forward to more normal garden task’s and time to sit and enjoy the garden.

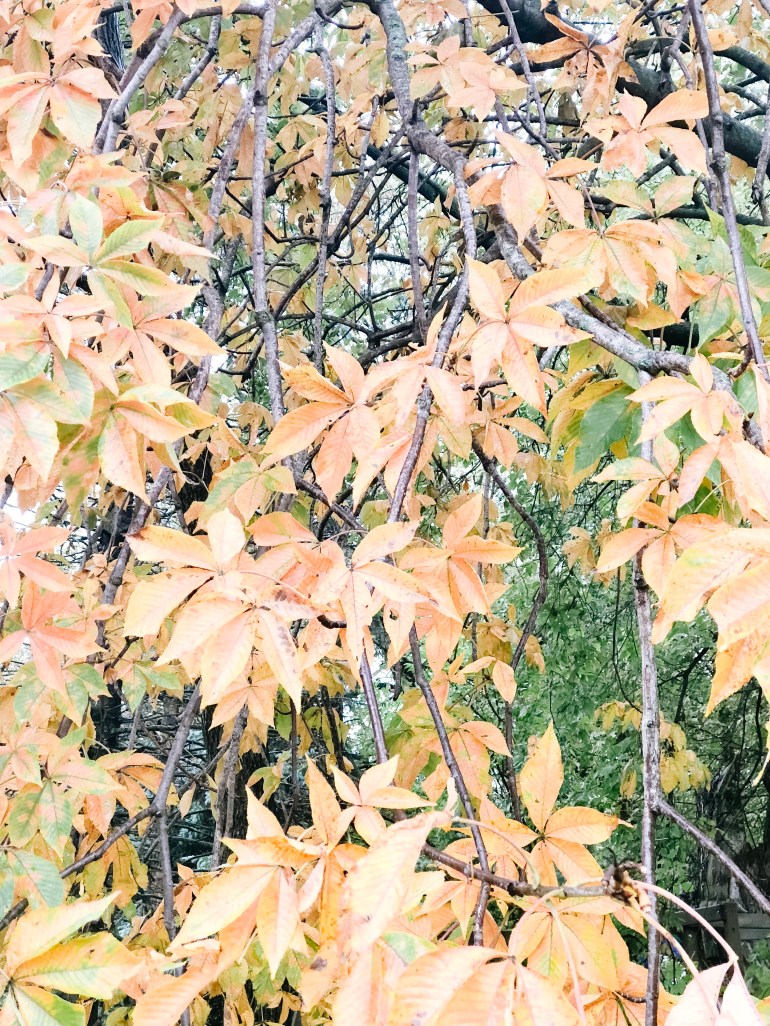
As we enter autumn in the garden, the Tiger Eye Sumac foliage becomes the star.
I would so love to grow a Japanese Maple, but sadly it would not survive a zone 4 winter.
The Tiger Eye gives me an interesting shape in the garden and the burst of bright color at the end of the season.
We partnered with Oase Living Water to redo our garden pond this summer. Check out the links provided to learn more about the Oase brand and all the water garden products used in the pond.
The new pond dimensions are 18 feet wide x 20 feet long. The depth is now 40” in the center with slides that slope sharply. The sloping sides should help us deter wildlife from entering the pond and bothering our Koi.
Here is the process!
We needed to build up soil to form the waterfall area of the pond. This is also where the filter will be placed along with the power source for the pond equipment. The soil was used that we dug from the pond.
 We leveled and packed the soil area behind the waterfall to place the filter and support the rocks that will be stacked for the waterfall.
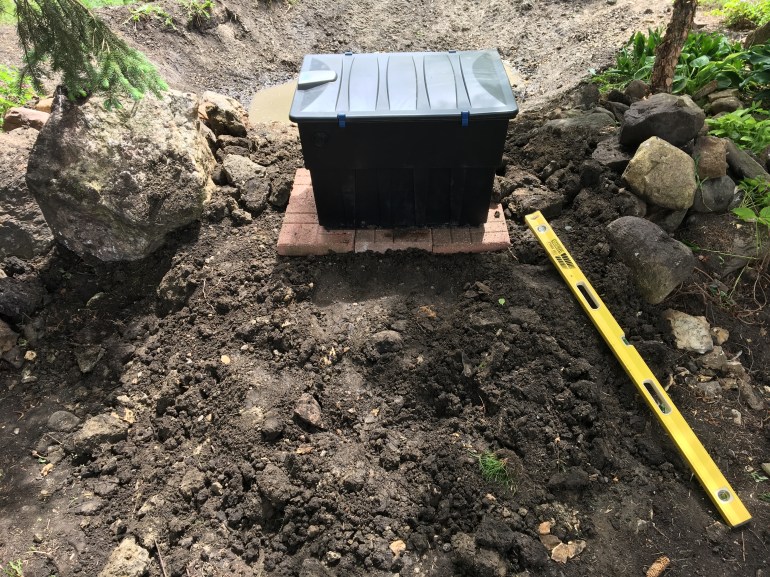 Our BioTec ScreenMatic filter is in place!
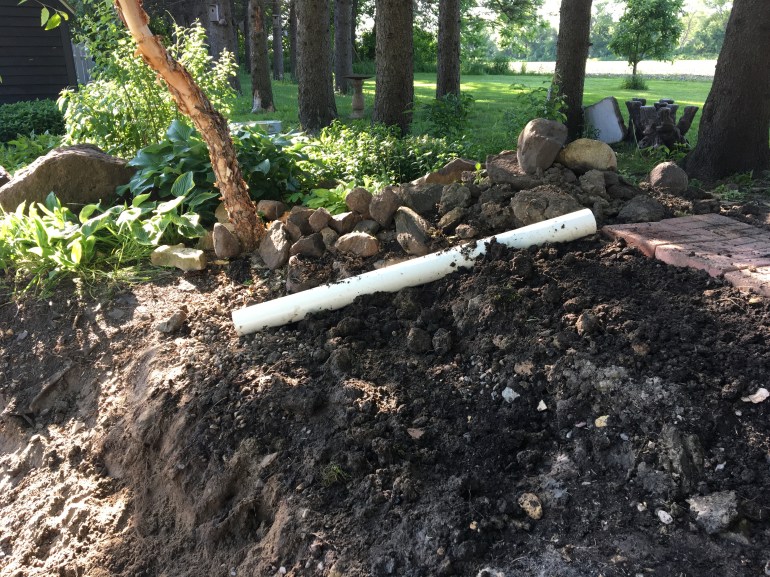
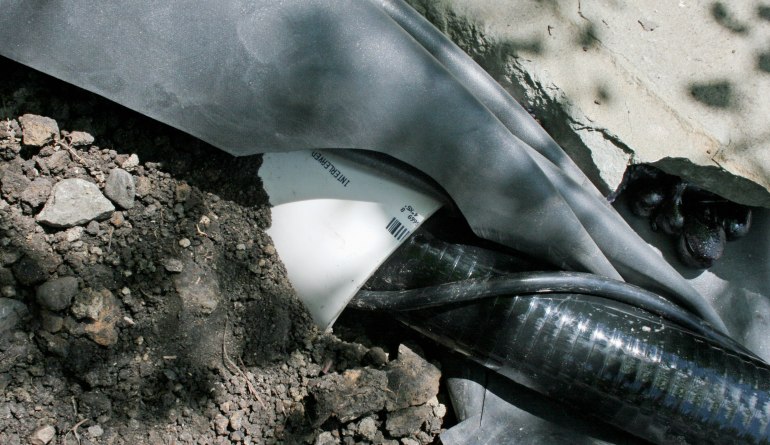
We placed a pvc pipe (6”in diameter x 5’) running along the side of the waterfall to pull the power cords through for the pumps, aerators, and lights. This will keep all the cords safe from damage and easy to remove for winter storage.
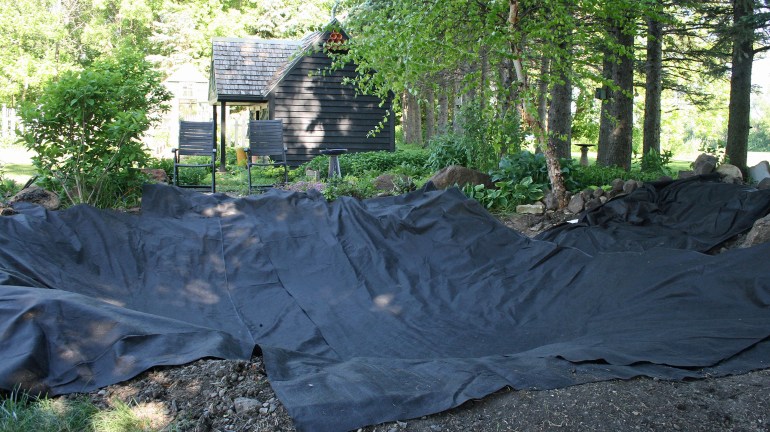
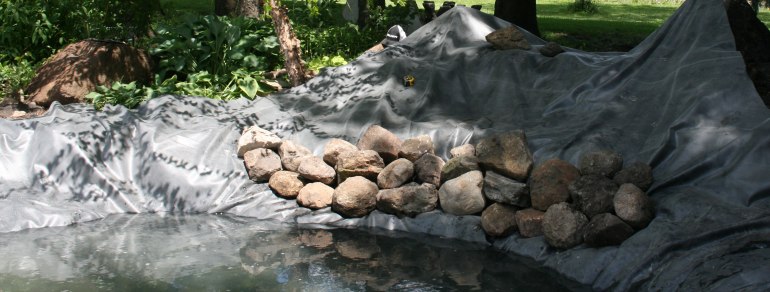
It is recommended that a pond underlayment be placed over the entire surface, to prevent any rocks or roots from penetrating the pond liner.
We located underlayment at a local landscaping company, it is sold by the foot. We purchased ours in one continuous length and cut pieces to size to cover the entire pond surface.
Now comes the heavy part! We need to get the pond liner in place. We are using a EPDM pond liner that is environmentally friendly, fish safe and UV and ozone-resistant.
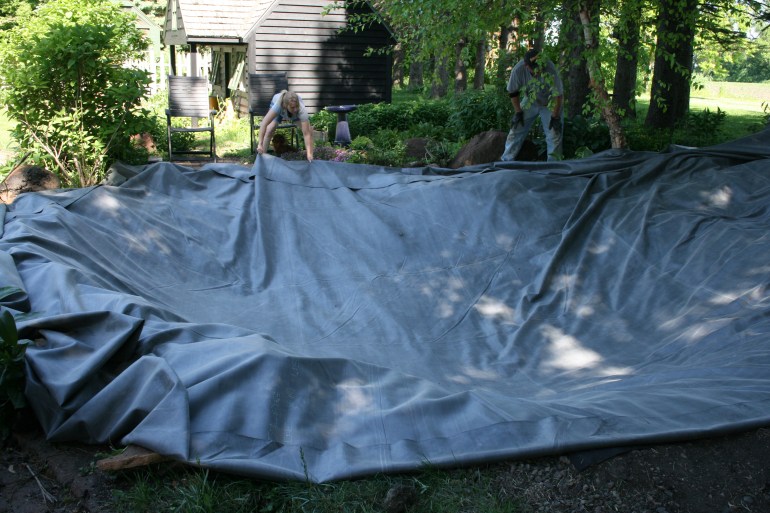 The liner weighed 250 lbs and this image proves I did more than just hold a camera!We unfolded the liner and worked out all of the wrinkles. This process continued throughout the filling process. As the water level rises, you will be adjusting and moving the liner to create as smooth a surface as possible.
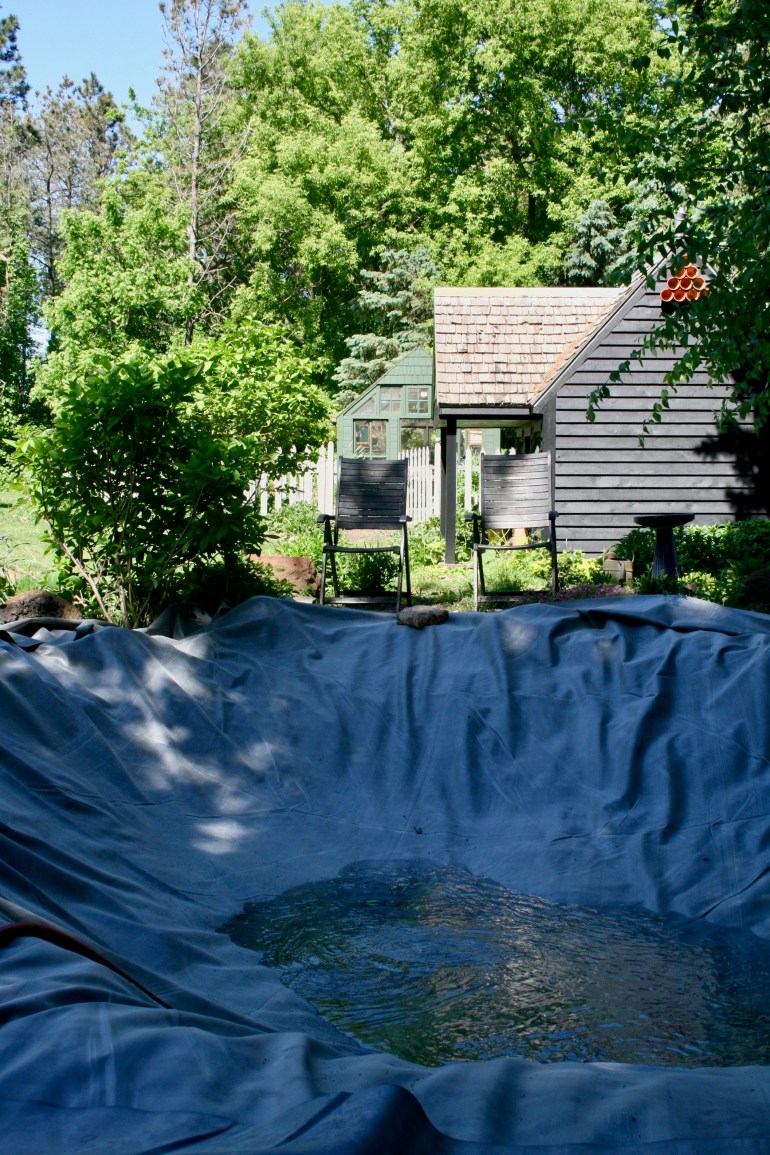
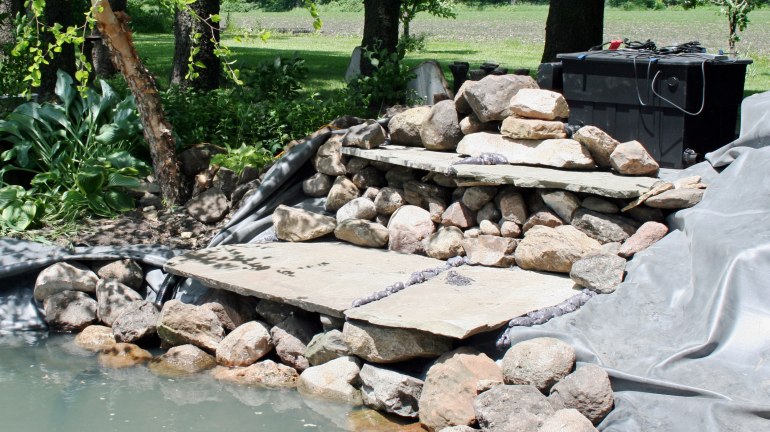
We started filling the pond and moved some rocks along the edge of the liner to help hold everything in place. Designing the waterfall is a bit of trial and error. Nearly all the rock that will be used in the pond and waterfall is found right on our property. We also purchased slabs of blue stone from a local landscape company to build two shelfs in the waterfall. These slabs give a flat surface for water to fall onto and create the look we wanted for this part of the water feature.
While the water fills up the pond, we move on to building the waterfall.
River rocks are used to form bases for the slab shelves.
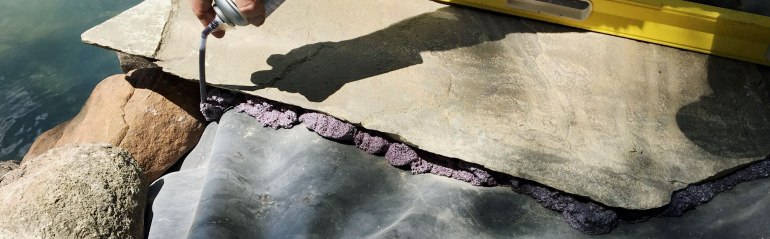
Pond and Stone Sealant expandable black foam is used to fill gaps and making sure that stacked rocks stay water tight. The excess foam is cut away after it dries.
The BioTec ScreenMatic 18000 multi zone filter is placed just behind the waterfall. The Birton C 55 Watt UV Clarifier is attached to the side of the filter.
The corrugated flexible tubing is sized and cut to connect the pumps and filter.
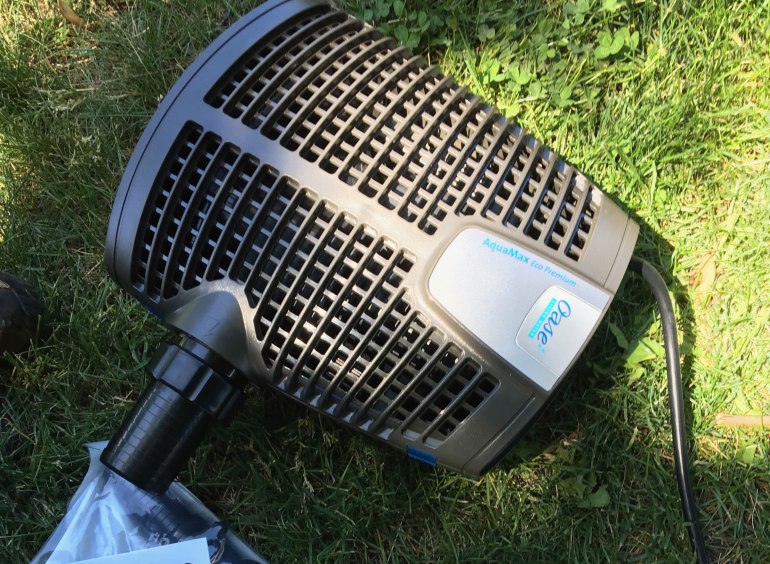
The AquaMax Eco Premium 4000 is placed in the bottom of the pond and connected to the filter.
We also attach the AquaSkim In-Pond Surface Skimmer to the system.
Remember the PVC pipe that we placed along the side of the waterfall? We threaded the hoses and electric cords though this pipe back up to the electricity connection that has been placed behind the pond.
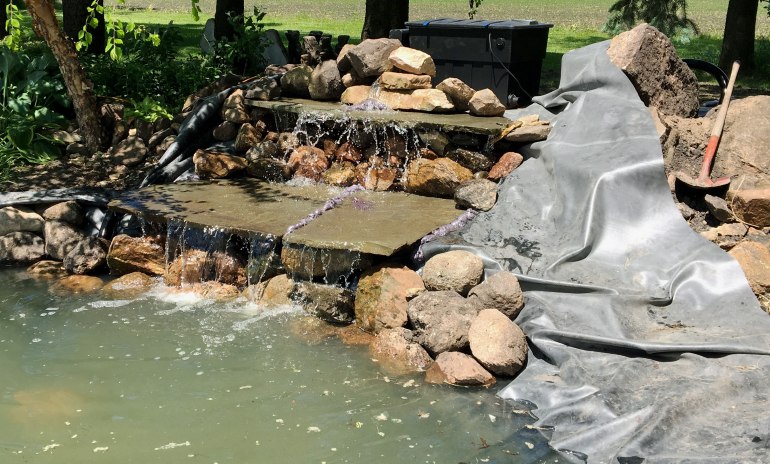
We were ready to give the waterfall a trial run!
The BioTec ScreenMatic 18000 filter starts working right away to remove debris from the pond and began to clear the water.
With the mechanics in place we move onto landscaping the pond. After several days, allowing for settling, we cut the excess liner; leaving an excess of 12 to 16 inches around the pond edge. This edge will be covered by rocks and plants. We continue to add large boulders and rock of various sizes and plant material to create a naturalized garden setting.
We added LunAqua Classic LED lighting to enhance the garden while we enjoy the pond in the evenings.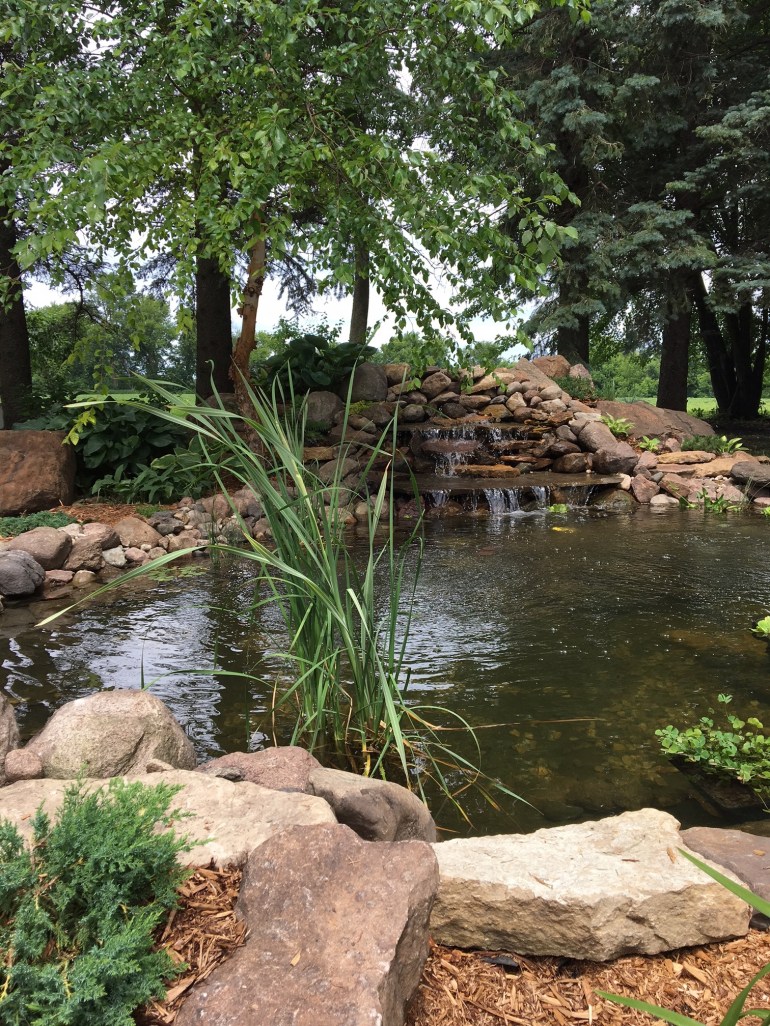
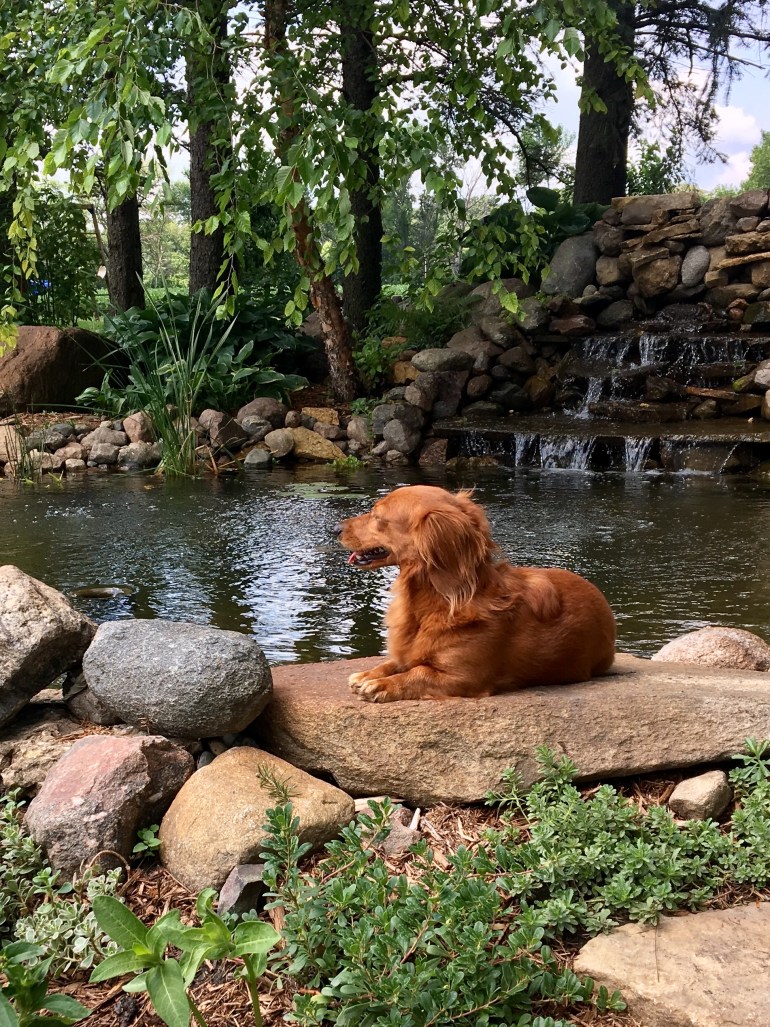
The new garden pond is a favorite spot to sit and relax. We love the sound of splashing water on the waterfall and are enjoying the addition of water plants and some Koi to the pond.
Maintenance is minimum and simple, a few minutes a day emptying the skimmer basket on the AquaSkim In-Pond Surface Skimmer. We use the adjustable EasyPick pond pliers for this task.
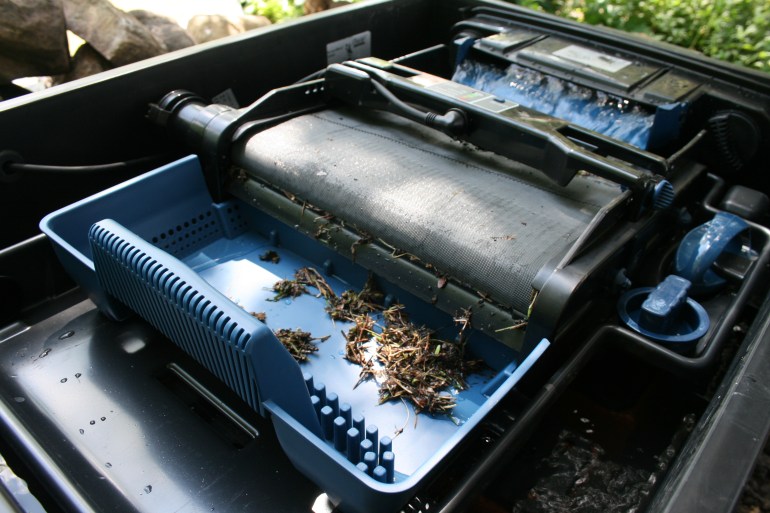
Cleaning the BioTec ScreenMatic 18000 flow through filter is a weekly task for our pond and this system does not require removal of the filters. The filter has a built-in cleaning mechanism and it is simple to clean the filter foams without removing them.
Water quality: This was a process in our pond. Our water was very high in iron and we had clear water with about 10 to 12 days. We used Chlorine remover and Barley Pond Clarifier from Oase line of water treatment in the initial startup and continue to use Barley Pond Clarifier as needed. (temperatures, rainfall, or adding water may need counter measures)
I only occasionally manually skim the pond with hand skimmer.
To keep the pond healthy and clear it is necessary to remove debris and organic matter from the pond floor. The PondoVac3 makes this task very easy. Several sections of tubes connect together to make it easy to reach the entire pond floor. I can even discharge the water into the flower beds for an organic fertilizer application.
The pond and our pond equipment from Oase Living Water have exceeded our expectations. I can’t wait to continue sharing the seasonal changes in the garden and the evolution of the pond and the water plants. Our Koi have grown over the summer and we will be wintering them over in the pond with the help of the AquaOxy pond aerator.
Stay tuned, Fall is right around the corner!
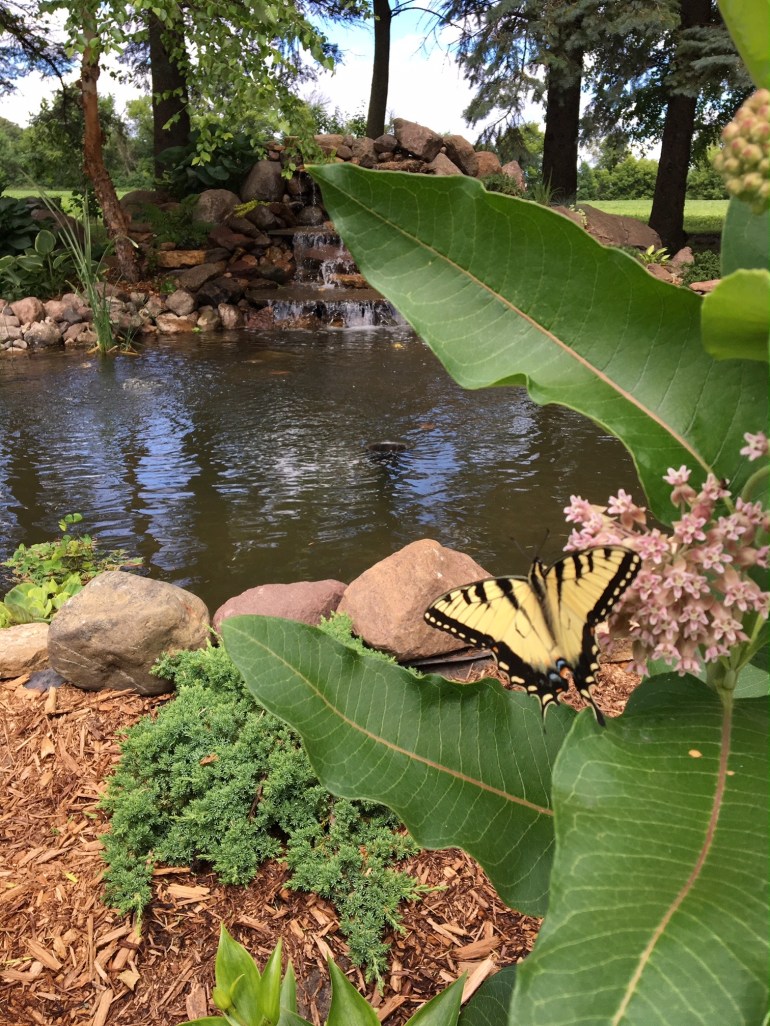
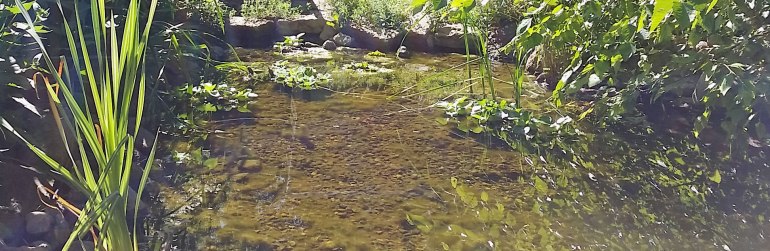
A few years ago, we added a small pond to our garden. After digging a spot in the garden, we pieced together some filters and pump, filled it up with water, and dropped in some rocks and fish.
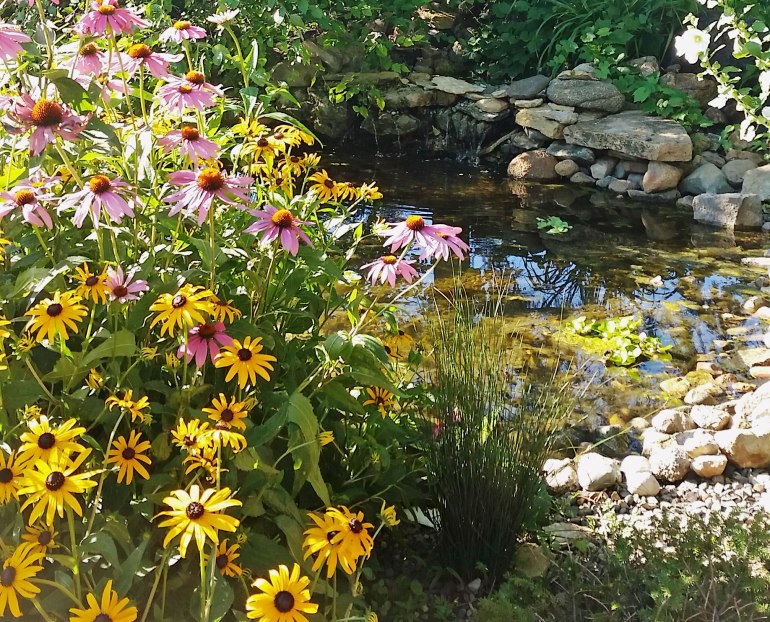
We loved the sound of water splashing down a small rock waterfall and placed a few pond plants along the edges of the pond.
We sat back to enjoy the tranquility of the pond and watch our little ecosystem grow.
We soon realized that we had some issues!
The water was cloudy and began to grow layers of green algae that we couldn’t skim fast enough from the water. Leaves and pine needles clogged the filter and the hot summer days warmed the shallow water, making it unhealthy for fish; but we hatched lots of mosquitos!!
The pond became a frustration instead of a retreat in the garden!
Early this spring we were given the opportunity to work with the Oase Living Water Company.
Taking a look at images from last year’s garden was all it took to sign up for a garden pond makeover.
With the help of Oase Living Water, we were able to design a pond suited for our zone 4 garden. We wanted a larger pond that we could grow water plants and enjoy colorful Koi fish. We also wanted a pond that was easy to take care of!
Oase helped us select the appropriate equipment to keep a pond that is both beautiful and easy to maintain. We were excited to learn that the equipment has an Eco-friendly rating, making it energy efficient to run the pond equipment.
Oase also have a Clear Water Guarantee. “When a pond owner properly uses specifically marked Clear Water Guarantee products, they are guaranteed to have clear water and minimal maintenance.”
The equipment that we used to build the pond include:
AquaOxy 450 Air Injection Pump
AquaSkim In-Pond Surface Skimmer
Corrugated and Flexible Tubing 1 ½” and 2” diameter
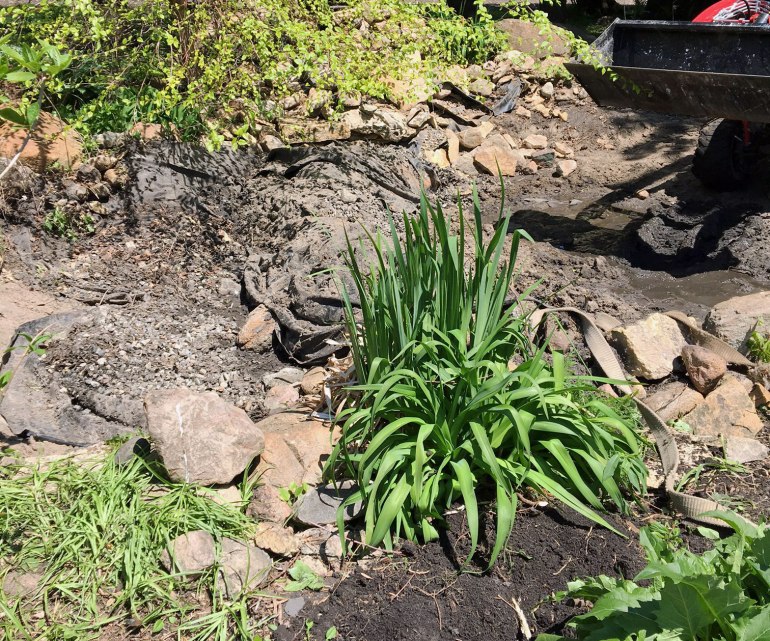
Dismantling the old pond was the first task, and this was the most difficult part of the project!
The little red tractor was perfect for removing the old liner and rock. We also needed to relocate several shrubs and perennials to allow for a larger pond.
Spring is generally the best time to move most plants in the garden, and I am happy to report that everything we transplanted is growing and thriving.
Once the old liner and rocks were removed, we began the task of digging the new pond. We were able to add several feet to the width and length. We chose not to disturb an existing brick paver area and carefully worked around a favorite River Birch Tree that was in place.
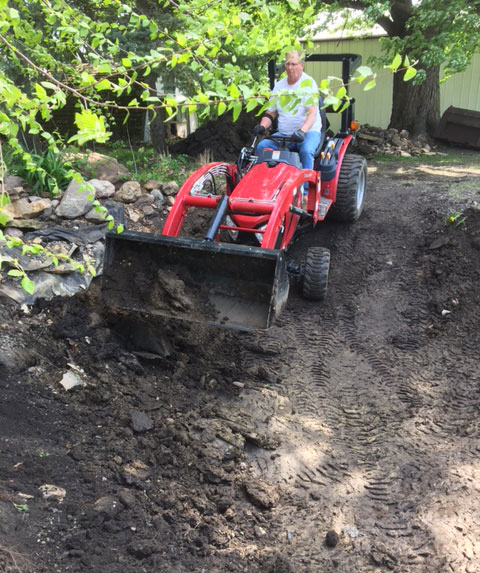
Once again the little red tractor was the perfect size for working in the constraints of the garden. The waterfall area was dug by hand with shovels.
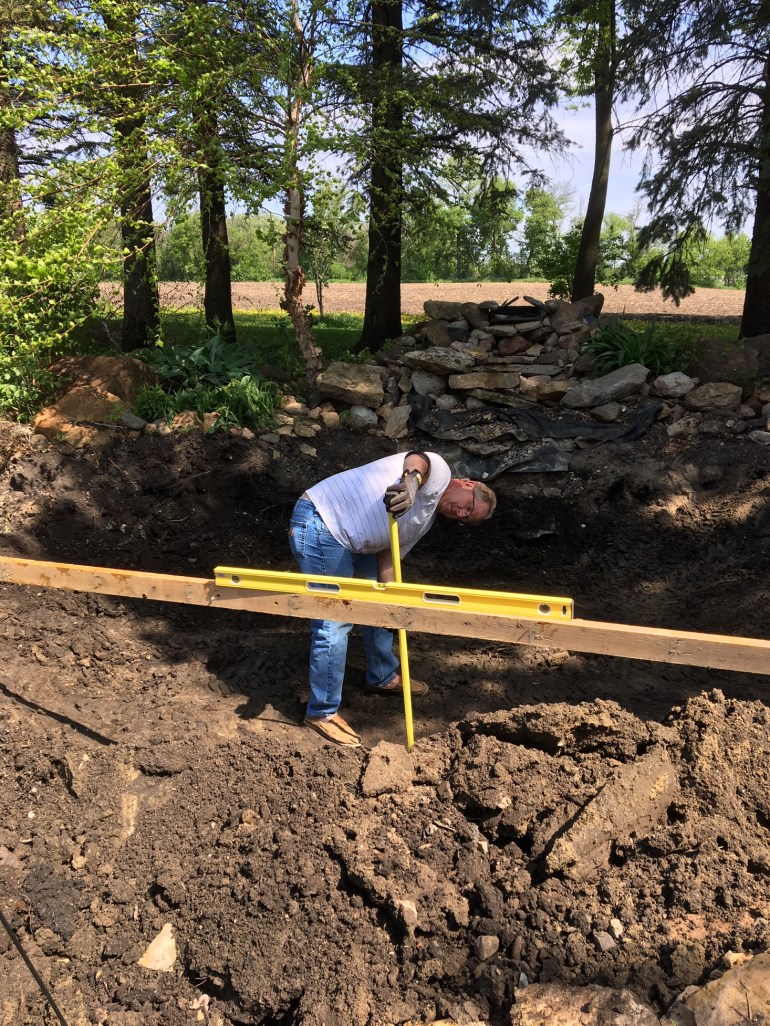
We dug the pond to a depth of 40 inches in the center; this depth will prevent the pond from completely freezing solid in the winter with the addition of an aerator. The sides of the pond slope quite sharply; this will help prevent animals and critters from entering the pond and bothering the Koi that will soon inhabit the pond.
The remaining rocks from the old waterfall where removed.
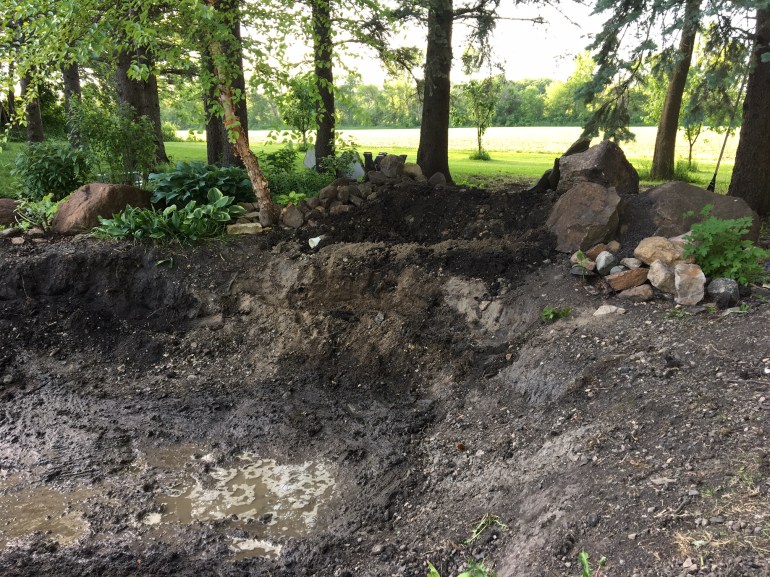
The weather is certainly a factor when working in the garden in early spring. We are a small crew of 2 and with some delays we finally got to this point in the project. The garden looked pretty muddy and messy at this point, but it’s going to be pretty!
Stay tuned for Part 2-The Pond Build!
